Servicem8
Latest versionServiceM8 helps field service businesses schedule jobs, send quotes, and manage invoices, offering staff mobile apps and real-time job status tracking
Authentication DetailsComposio-managed OAuth available
Frequently Asked Questions
How do I set up custom OAuth credentials for ServiceM8?
Composio-managed OAuth works for ServiceM8 without any setup. Use your own ServiceM8 add-on when you want your app name on the consent screen and control over its permissions. You need a ServiceM8 developer account.
Create the ServiceM8 add-on
-
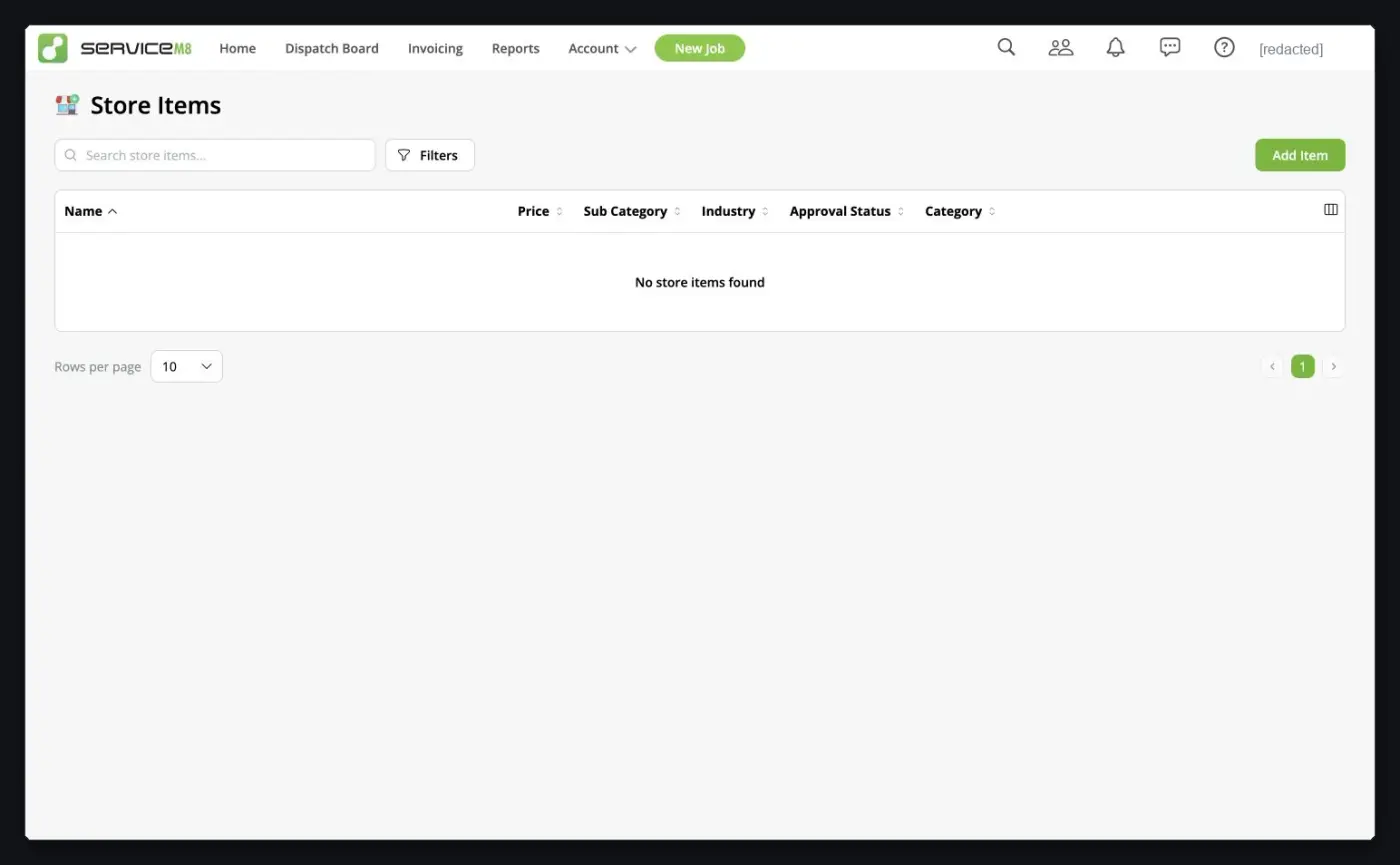
Sign in to ServiceM8 and open Developer from the main menu. On Store Items, click Add Item.
-
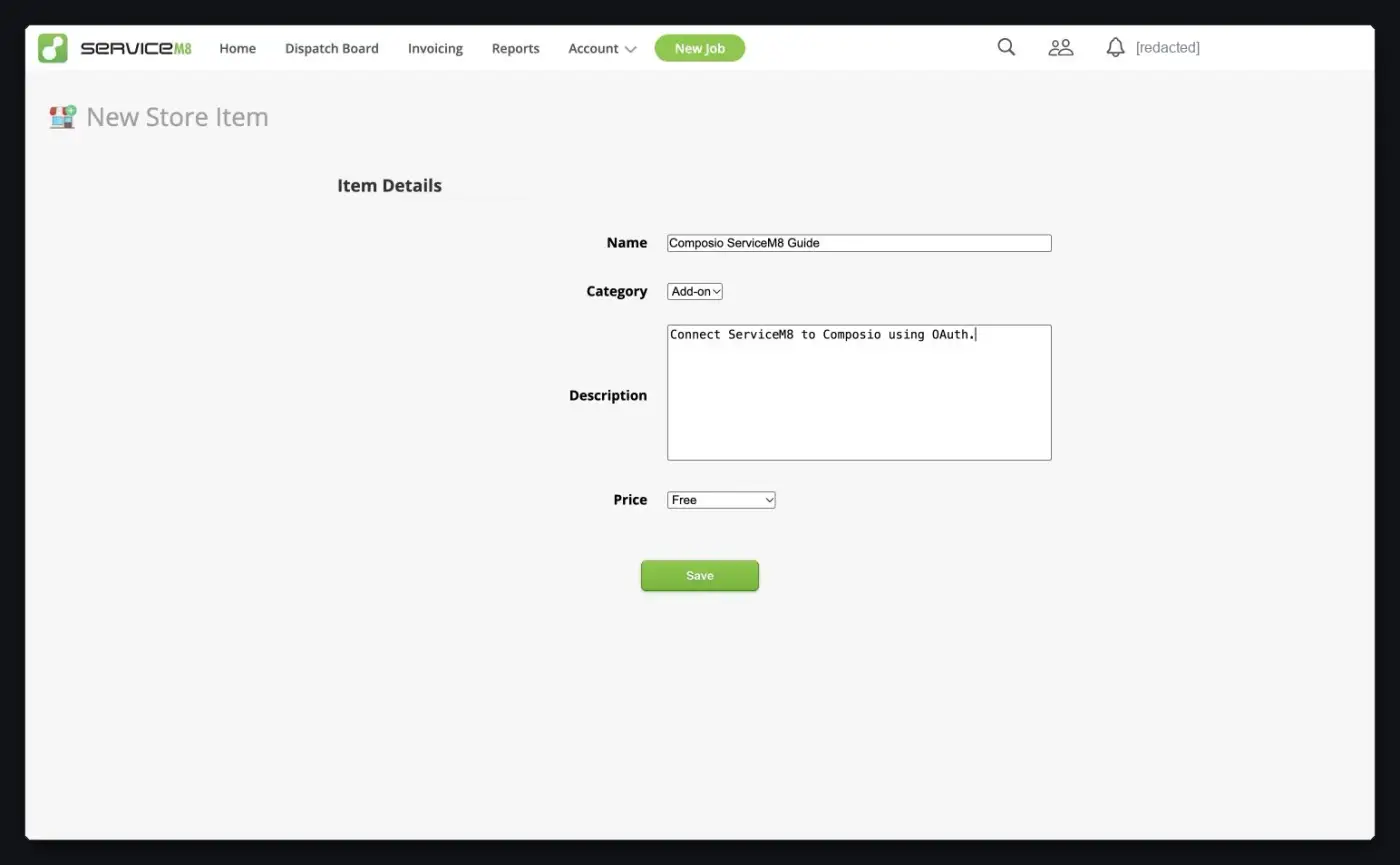
Enter a Name and Description. Keep Category set to Add-on, choose a price (Free works for a private integration), and click Save. ServiceM8 opens the add-on's settings.
-
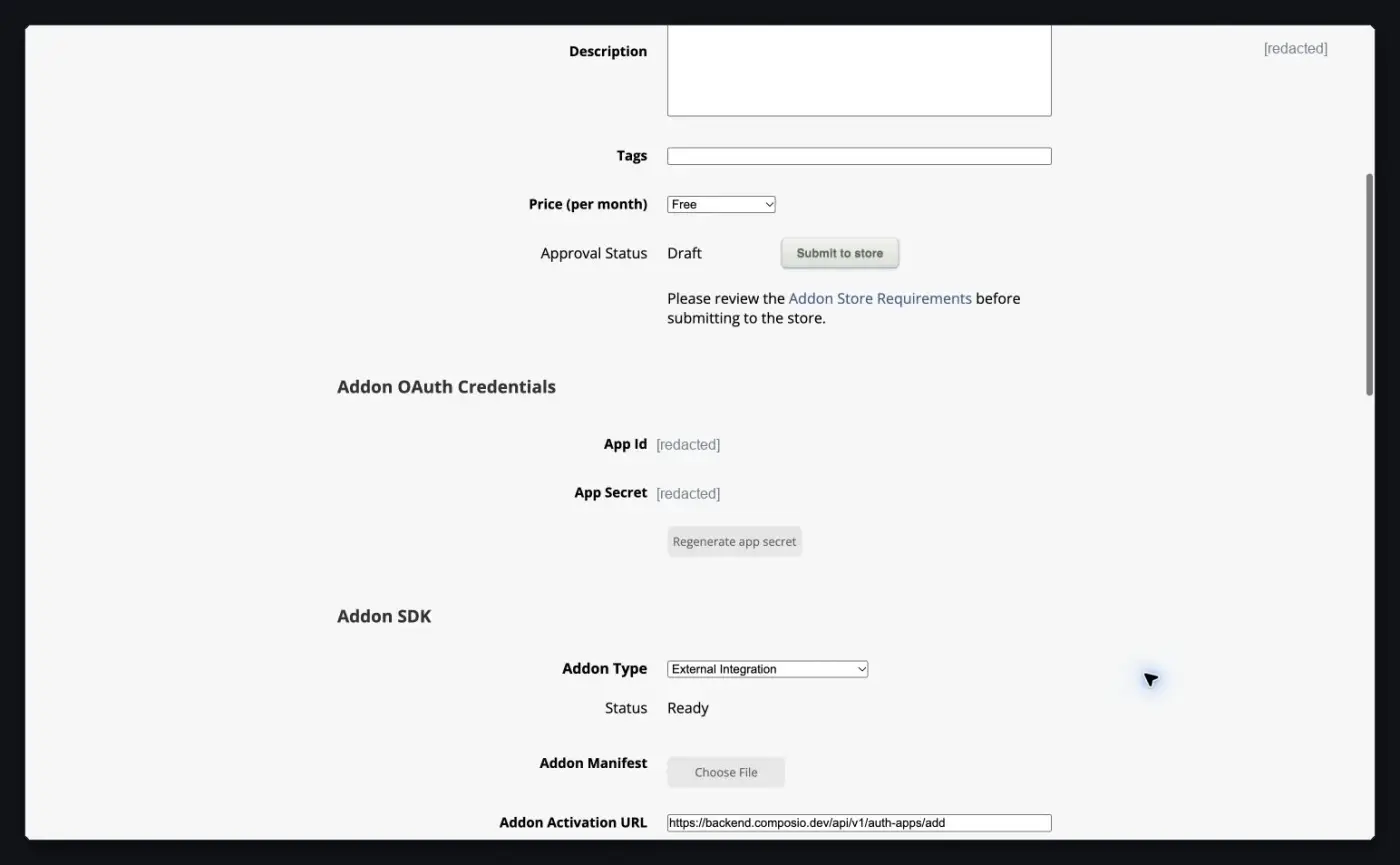
Scroll to Addon OAuth Credentials and copy the App Id and App Secret. These are the client ID and client secret in Composio.
-
Under Addon SDK, set Addon Type to External Integration.
-
Set Addon Activation URL to
https://backend.composio.dev/api/v1/auth-apps/addand click Save. ServiceM8 checks the OAuth redirect host against this URL, so it must match the auth config'soauth_redirect_urifield. See ServiceM8's authentication docs.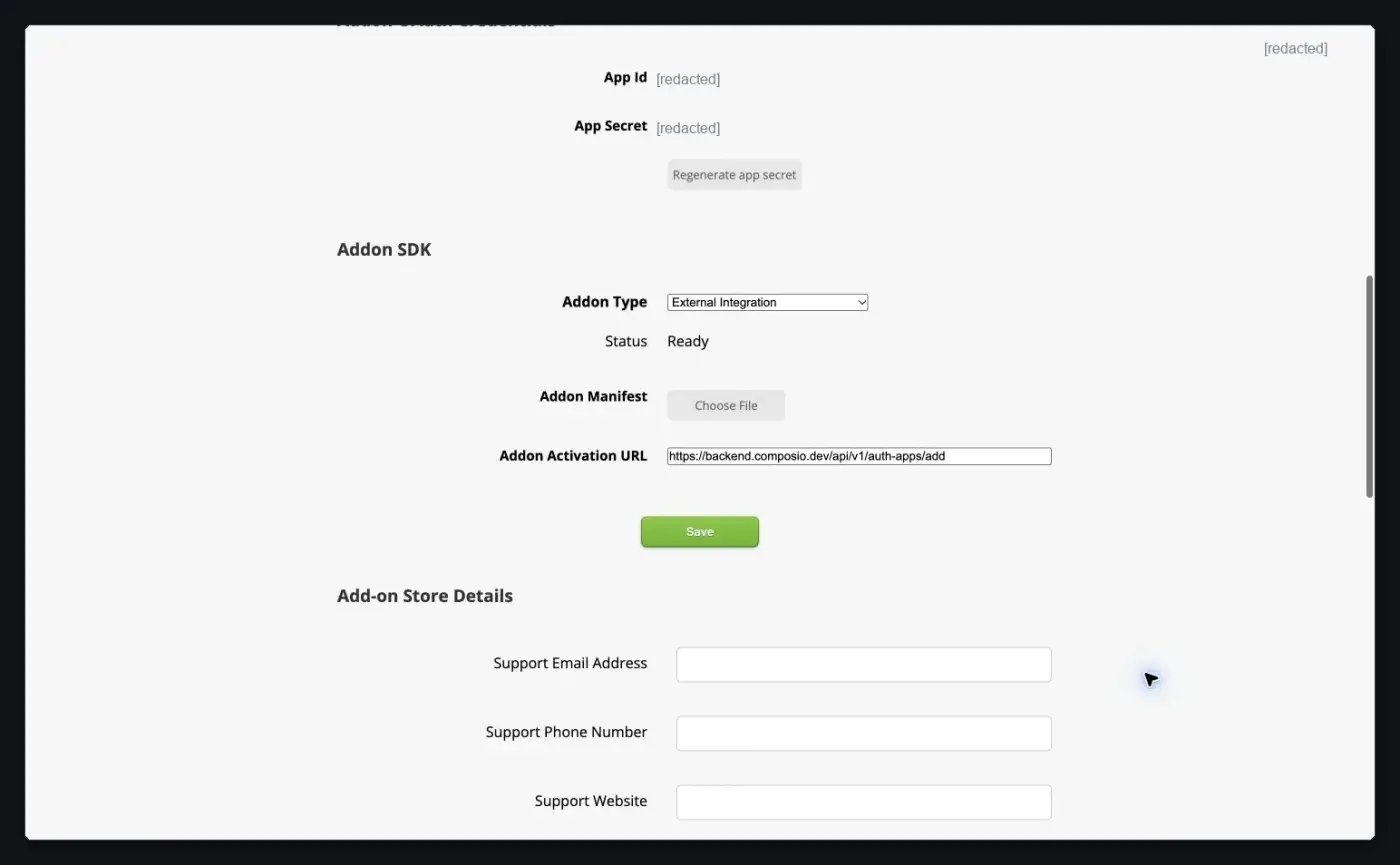
Create the auth config in Composio
-
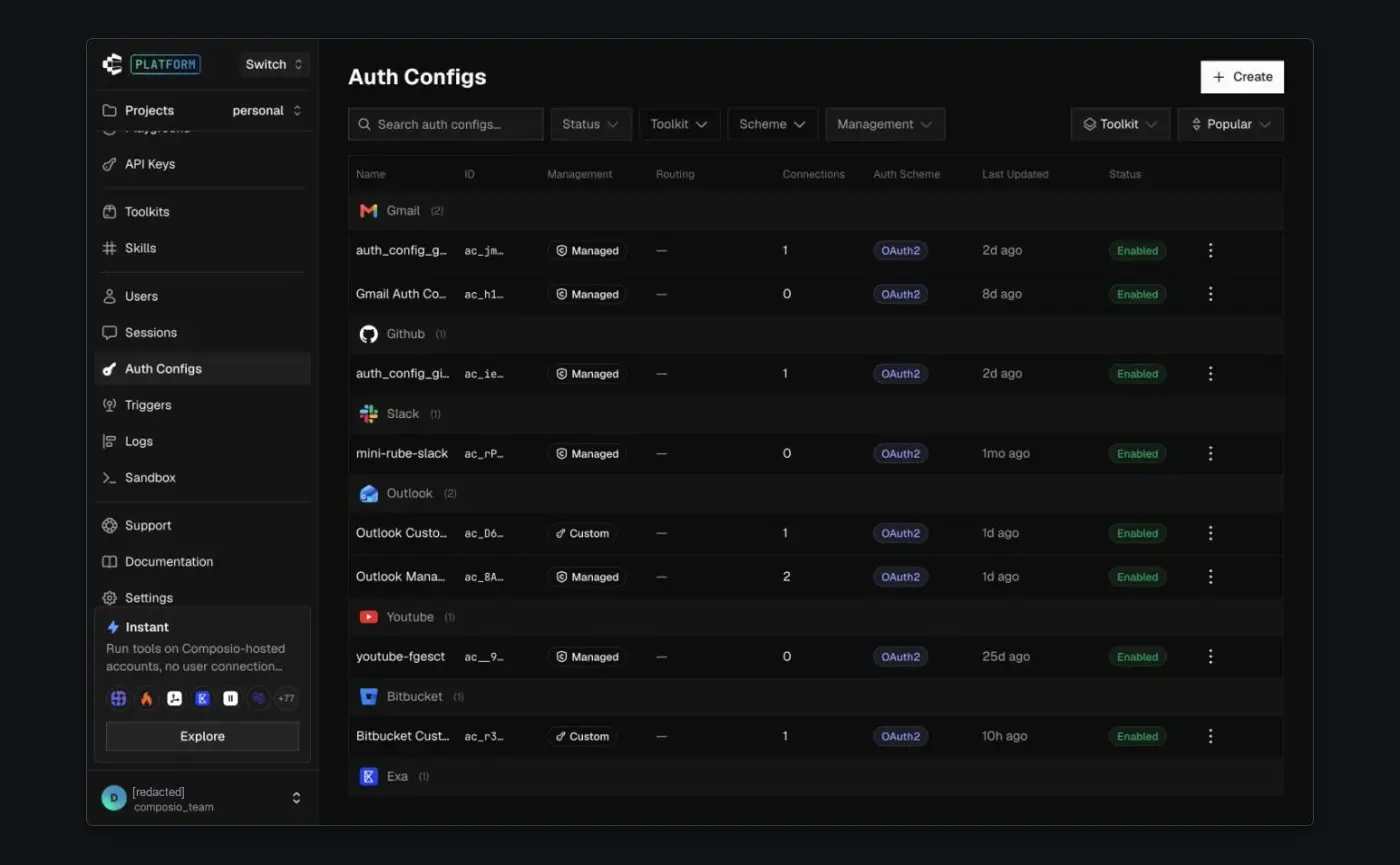
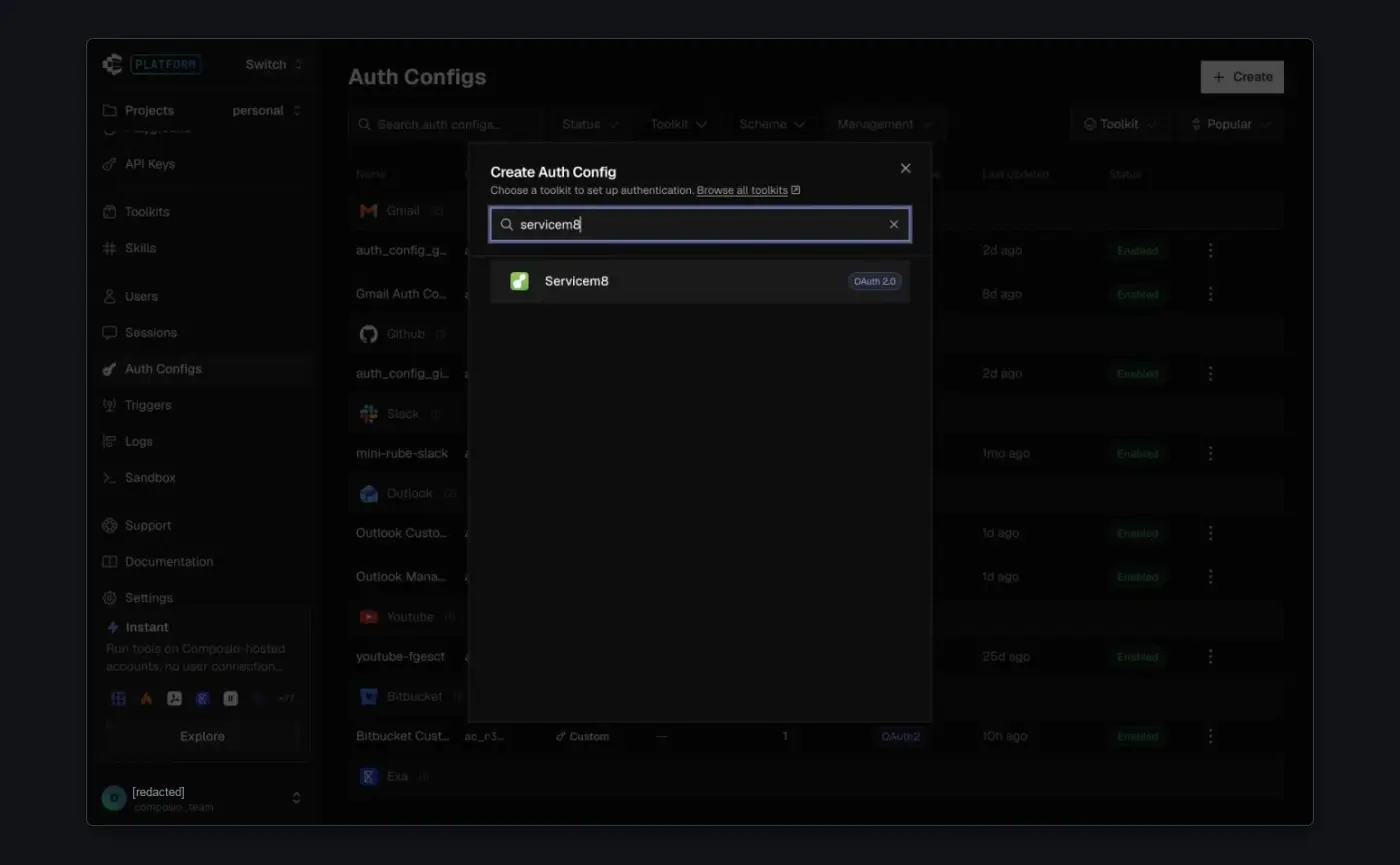
In the Composio dashboard, go to Auth Configs → Create and select ServiceM8.
-
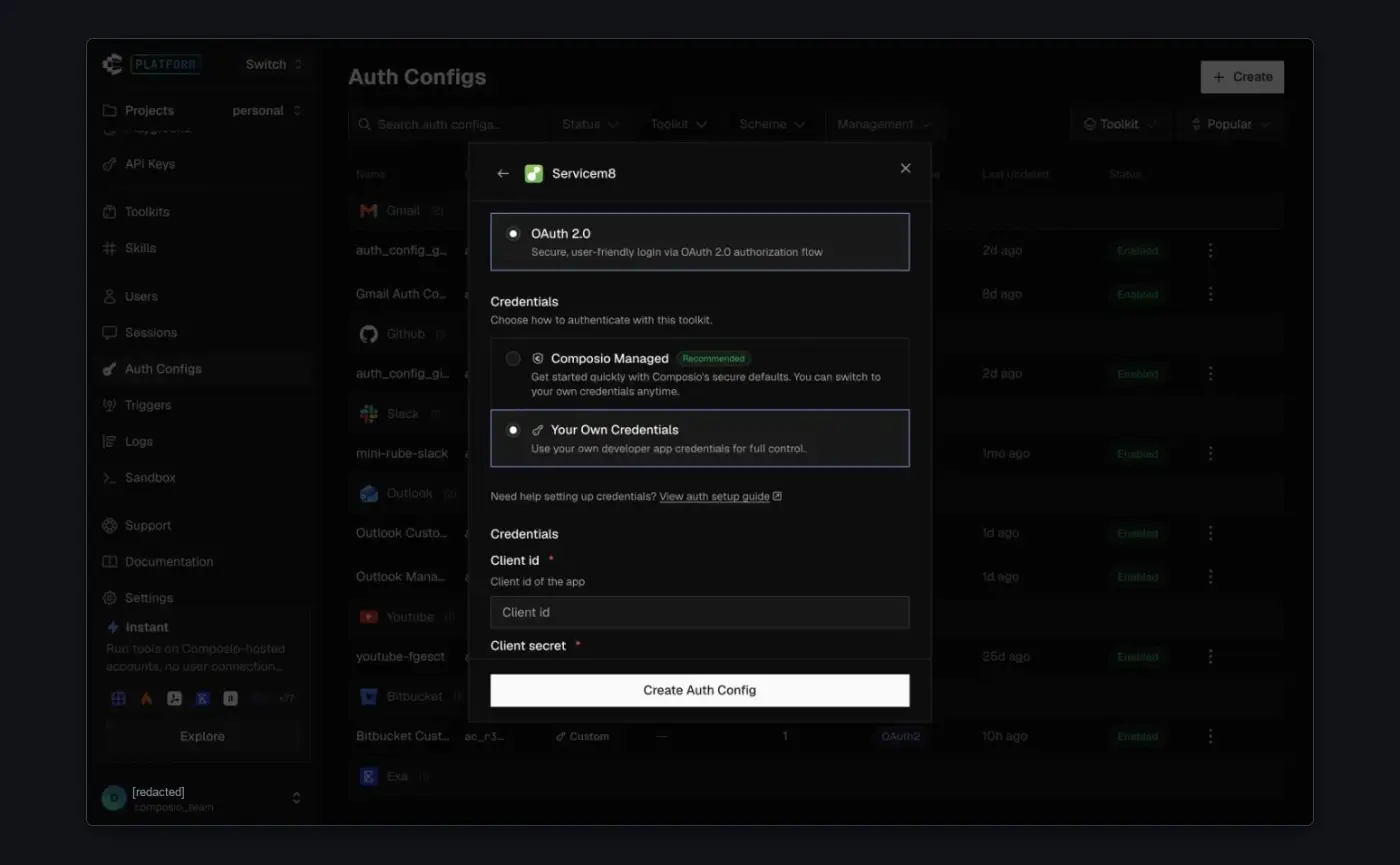
Choose OAuth 2.0 and Your Own Credentials. Enter the App Id as the client ID and the App Secret as the client secret. Keep the default redirect URI.
-
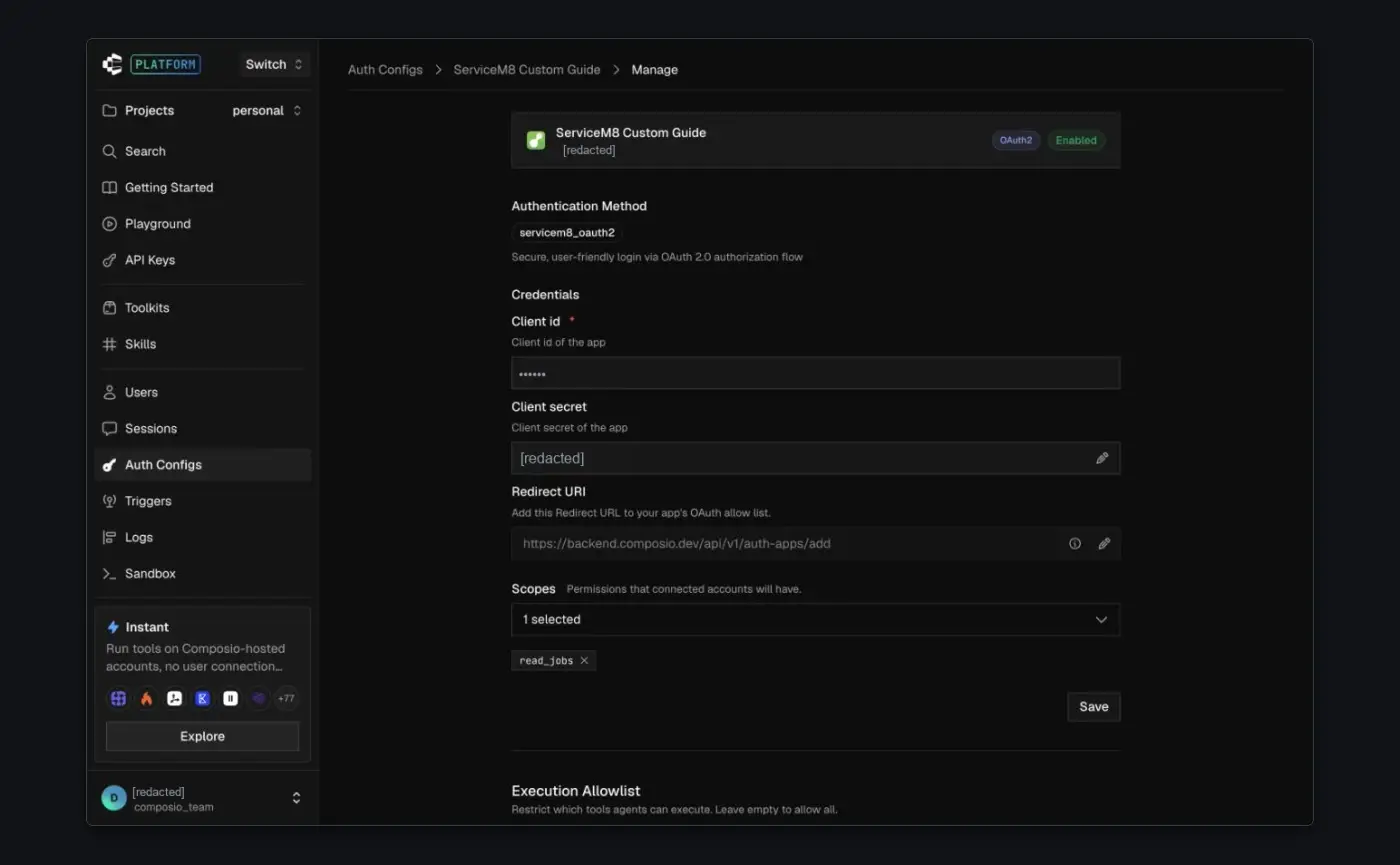
Under Scopes, choose the permissions your tools need, then click Create Auth Config.
-
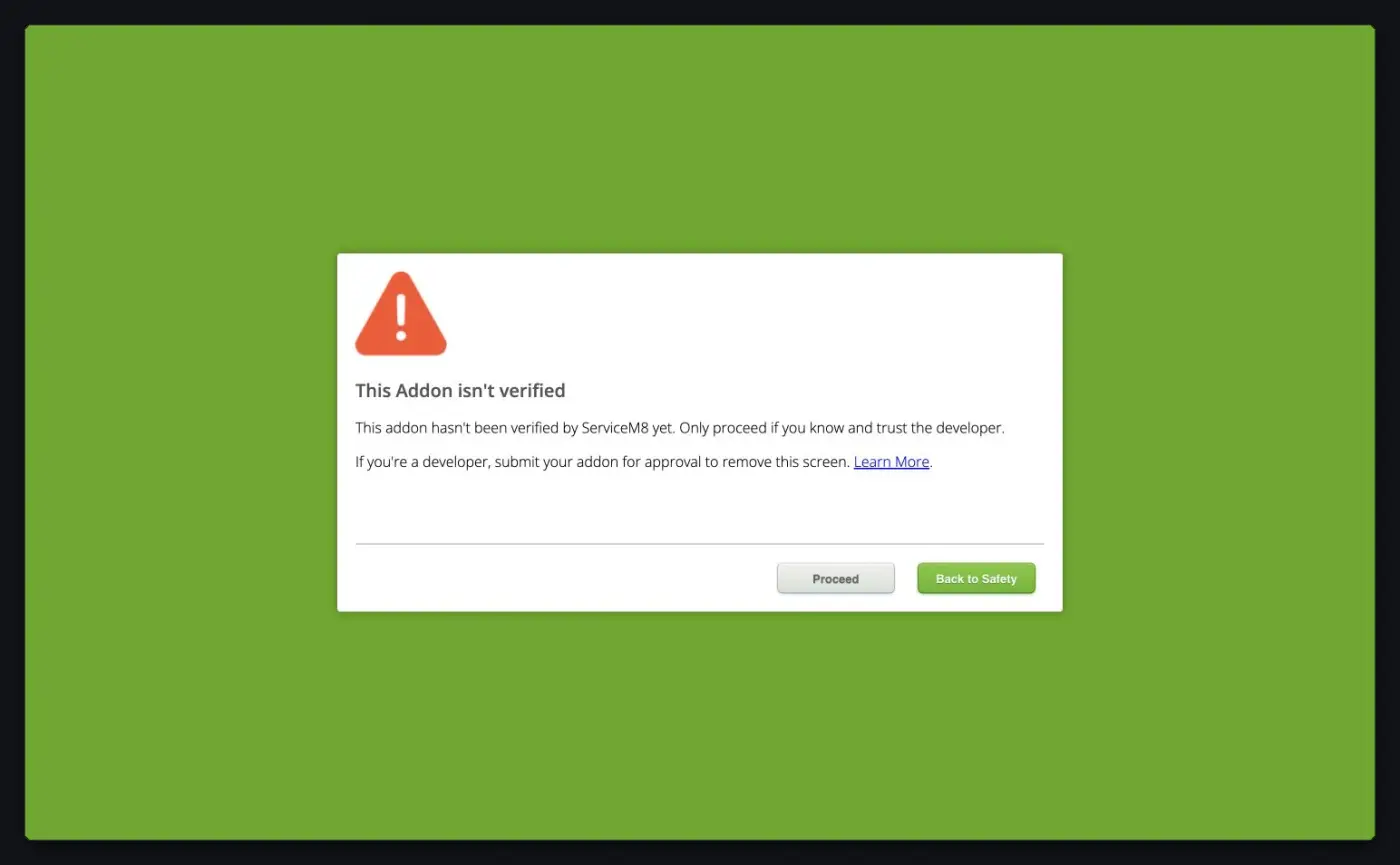
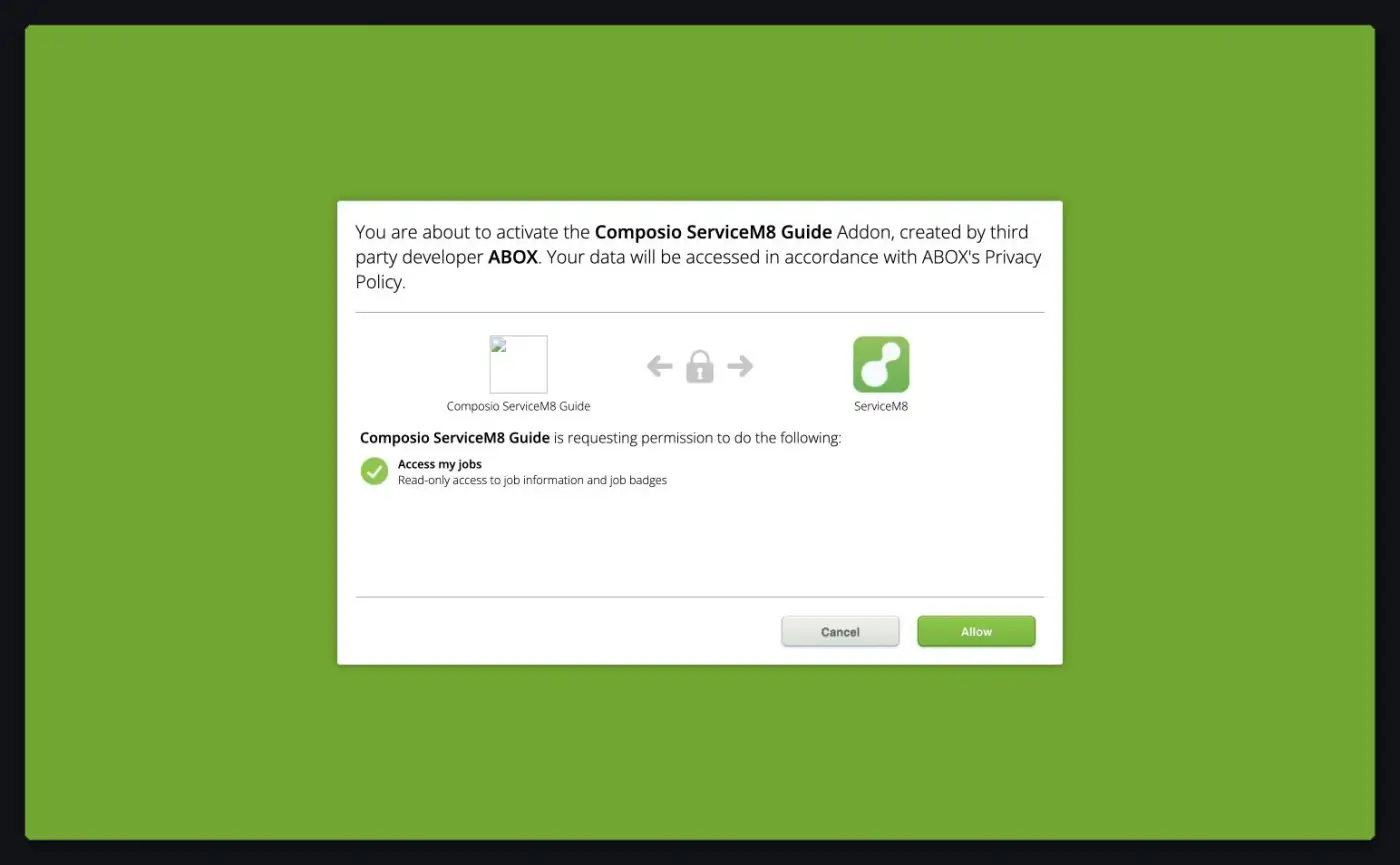
Click Connect Account and sign in to the ServiceM8 account you want to connect. A new draft add-on shows This Addon isn't verified; confirm it's your add-on and click Proceed. Check the app name and permissions, then click Allow.
-
Open the auth config's Accounts tab and confirm the account shows Active. The auth config's own Enabled label doesn't mean an account is connected.
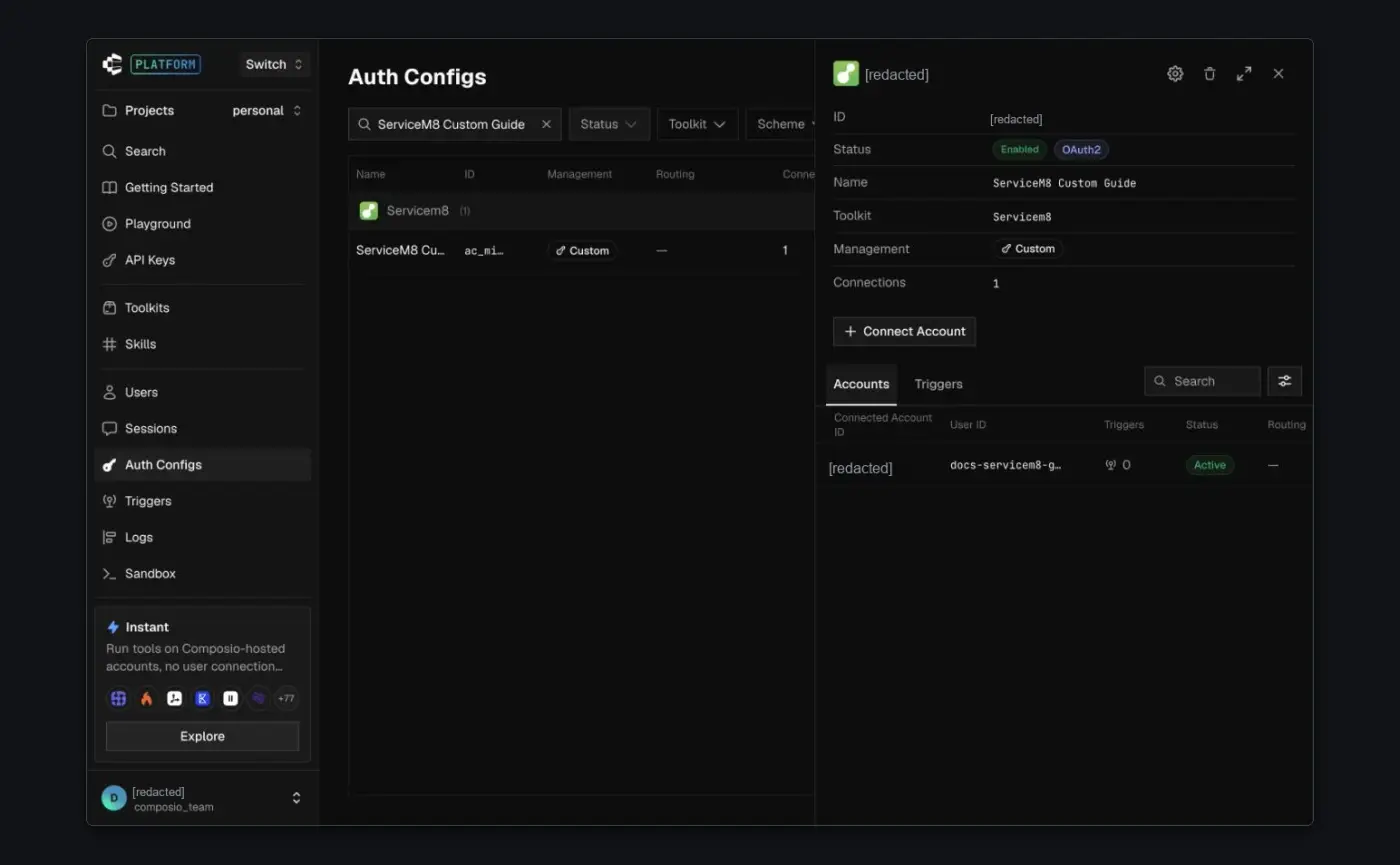
See custom auth configs for the general flow.
Scopes
ServiceM8 permissions are per resource, such as read_jobs, manage_jobs, read_customers, manage_customers, read_staff, and read_schedule. The default auth config requests read and manage permissions across jobs, customers, staff, schedule, inventory, assets, and messaging. A read-only jobs integration needs only read_jobs. See ServiceM8's scope descriptions.
The add-on can stay a draft. Publishing it to the ServiceM8 directory is a separate process, and submitting the add-on for review removes the unverified warning.