Zendesk
Latest versionZendesk provides customer support software with ticketing, live chat, and knowledge base features, enabling efficient helpdesk operations and customer engagement
Authentication DetailsComposio-managed OAuth available
Frequently Asked Questions
How do I set up custom OAuth credentials for Zendesk?
Use your own Zendesk OAuth client when you want users to see your app's name on the consent screen and control the credentials yourself.
Create the Zendesk OAuth client
- Sign in to Zendesk Admin Center at
https://<subdomain>.zendesk.com/admin/home. - In the sidebar, click Apps and integrations, then APIs, and open the OAuth clients tab.
- Click Add OAuth client and fill in the form:
- Client Name: for example,
Composio-Zendesk. - Description: optional.
- Redirect URLs:
https://backend.composio.dev/api/v1/auth-apps/add. It must usehttps, have no trailing slash, and exactly match theoauth_redirect_urifield in your Composio auth config.
- Client Name: for example,
- Save the client and copy the Identifier (the client ID) and the Secret.
Create the auth config in Composio
-
In the Composio dashboard, go to Auth Configs, click Create Auth Config, and select Zendesk.
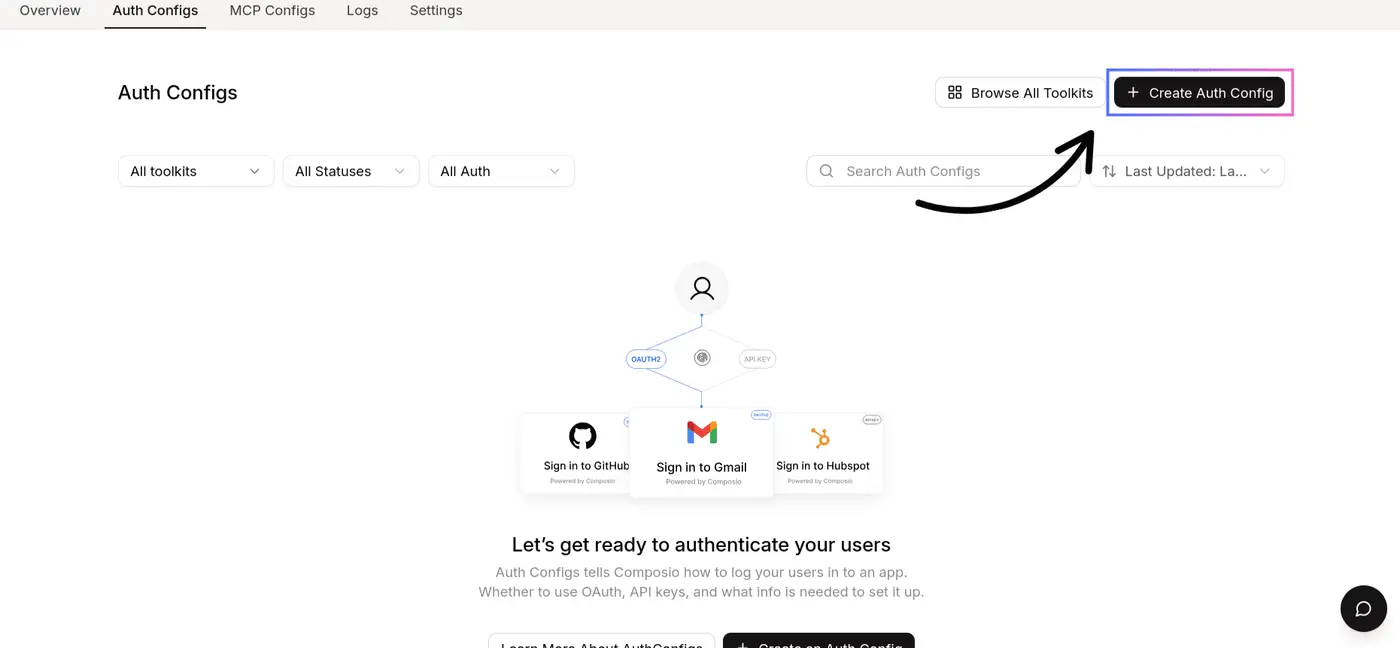
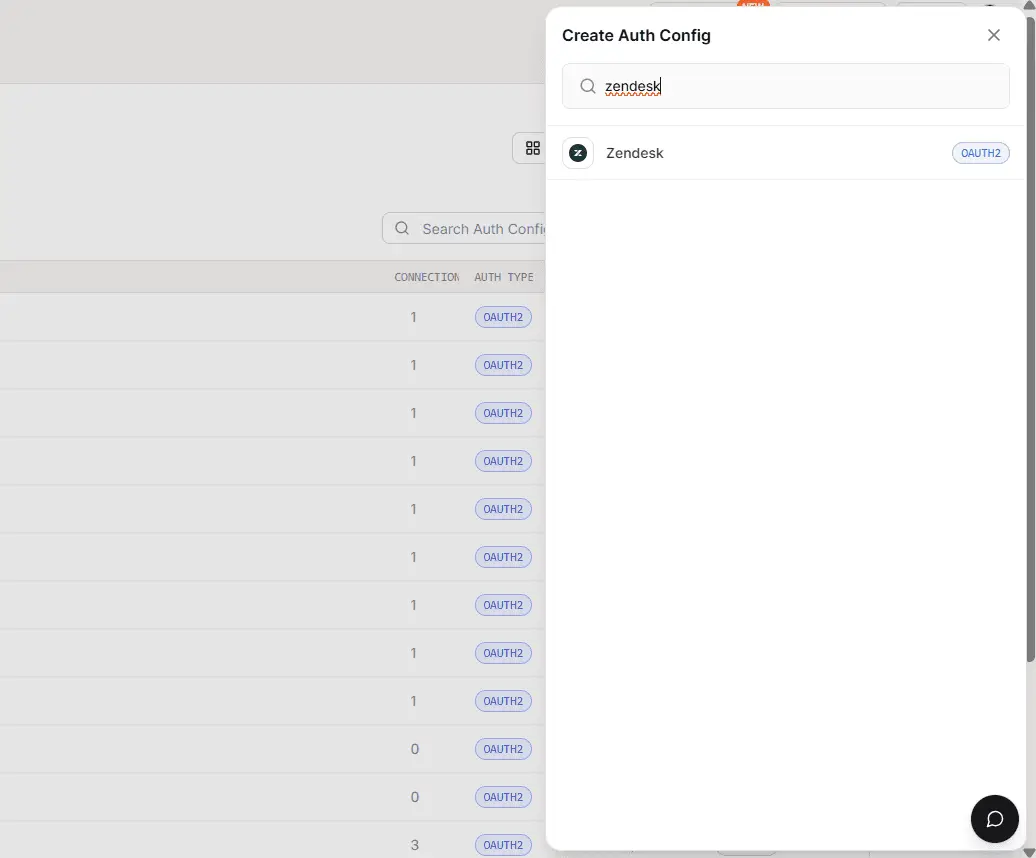
-
Set the authentication type to OAuth2 and choose Use your own developer authentication.
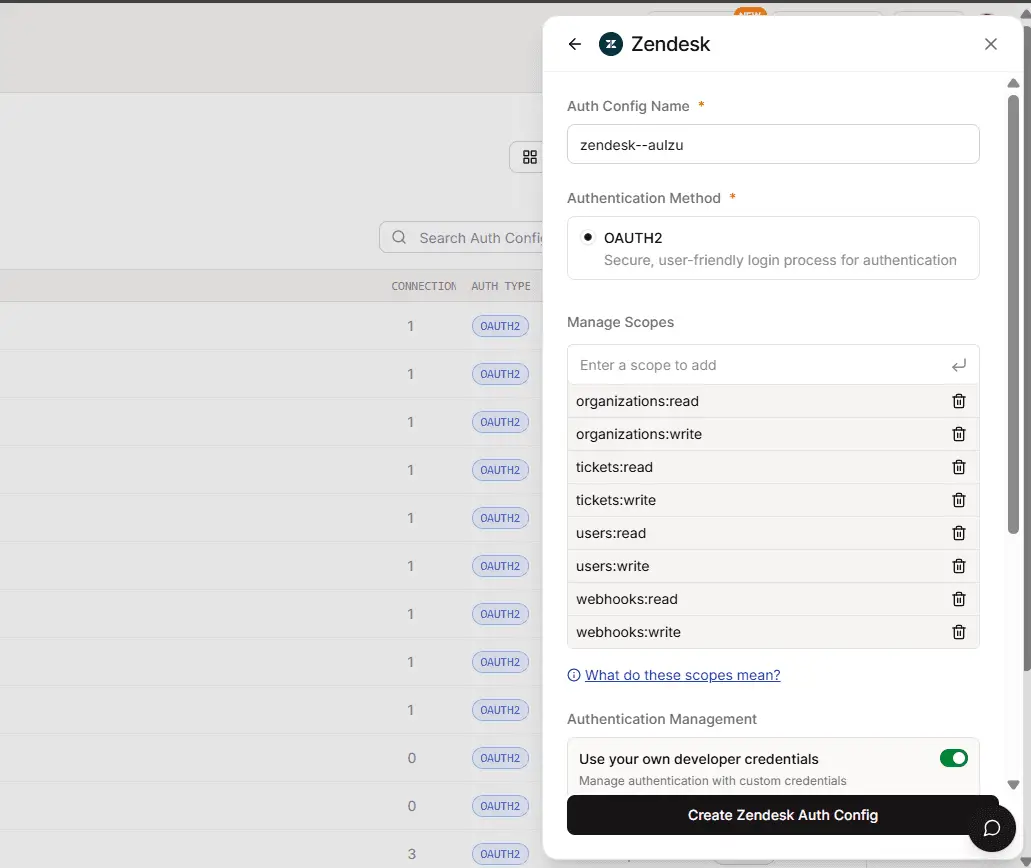
-
Paste the client ID and secret, then click Create Zendesk Auth Config.
-
Click Connect Account and enter your Zendesk subdomain, the part before
.zendesk.com(for exampleacmeinacme.zendesk.com). -
Approve access in Zendesk and confirm the account shows as Active.
See Custom auth configs for the general flow.
Scopes
Zendesk has no scope settings in Admin Center. Scopes are requested during authorization from the auth config's Scopes field. The default auth config requests read, write, and resource scopes for organizations, tickets, users, and webhooks, such as tickets:read and tickets:write.
The user's Zendesk role (agent, admin, and so on) still limits what the connection can do, even when broader scopes are granted.