Xero
Latest versionXero is a cloud-based accounting software for small businesses, providing invoicing, bank reconciliation, bookkeeping, and financial reporting in real time
Authentication DetailsComposio-managed OAuth not available
Frequently Asked Questions
How do I set up custom OAuth credentials for Xero?
Composio has no managed OAuth app for Xero, so you need your own Xero app. It also lets you control the app name users see and the permissions your integration requests.
Create the Xero app
-
Sign in to the Xero Developer Portal, open your apps, and click New app.
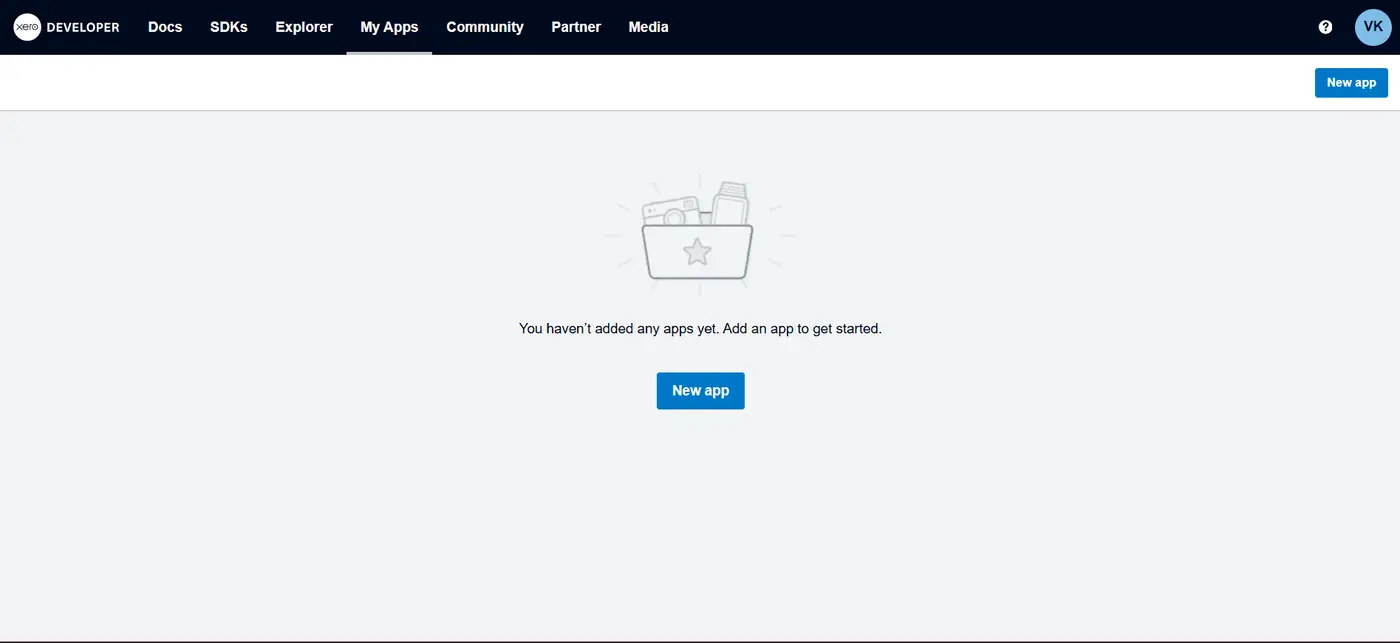
-
Enter an App name and Company or application URL, and select the Auth code flow for a web app.
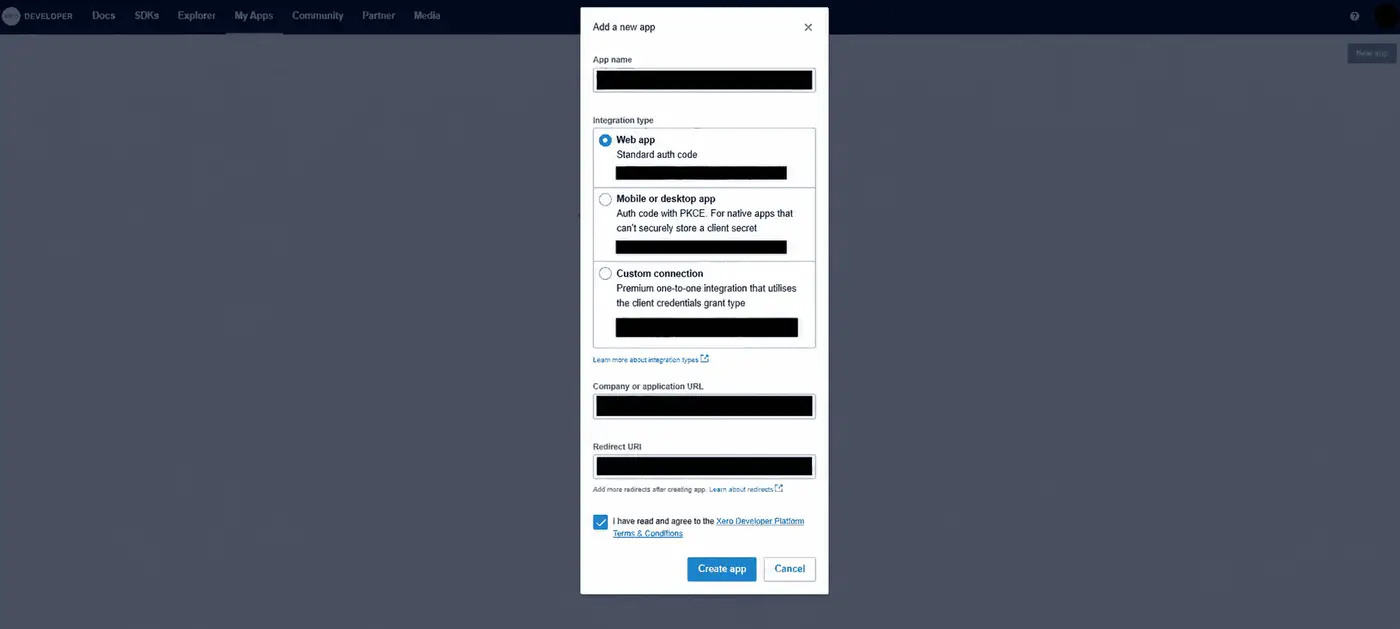
-
Set the Redirect URI to
https://backend.composio.dev/api/v1/auth-apps/add. It must exactly match theoauth_redirect_urifield in your Composio auth config. Fill in the remaining required fields and click Create app. -
Open the app's configuration and copy the Client ID. Click Generate a secret and copy the Client Secret.
Create the auth config in Composio
-
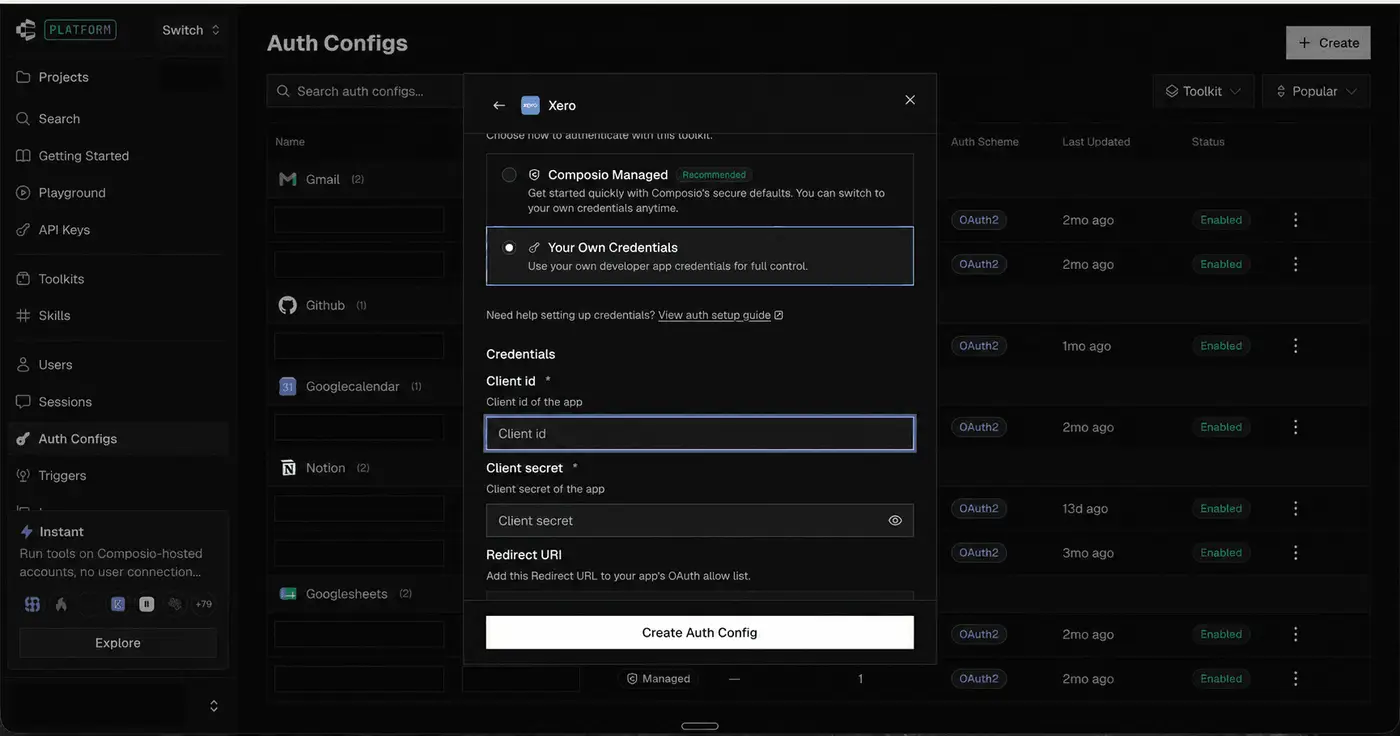
In the Composio dashboard, go to Auth Configs, click Create, and select Xero.
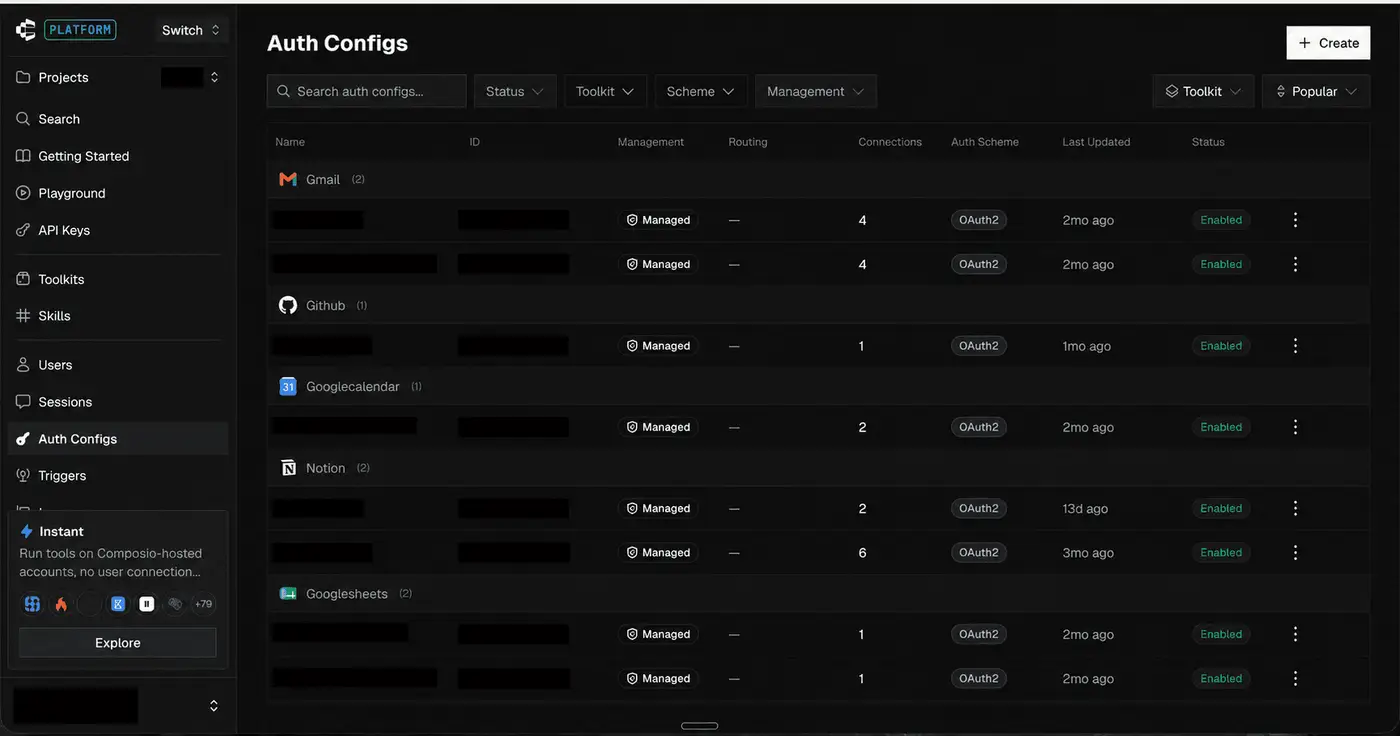
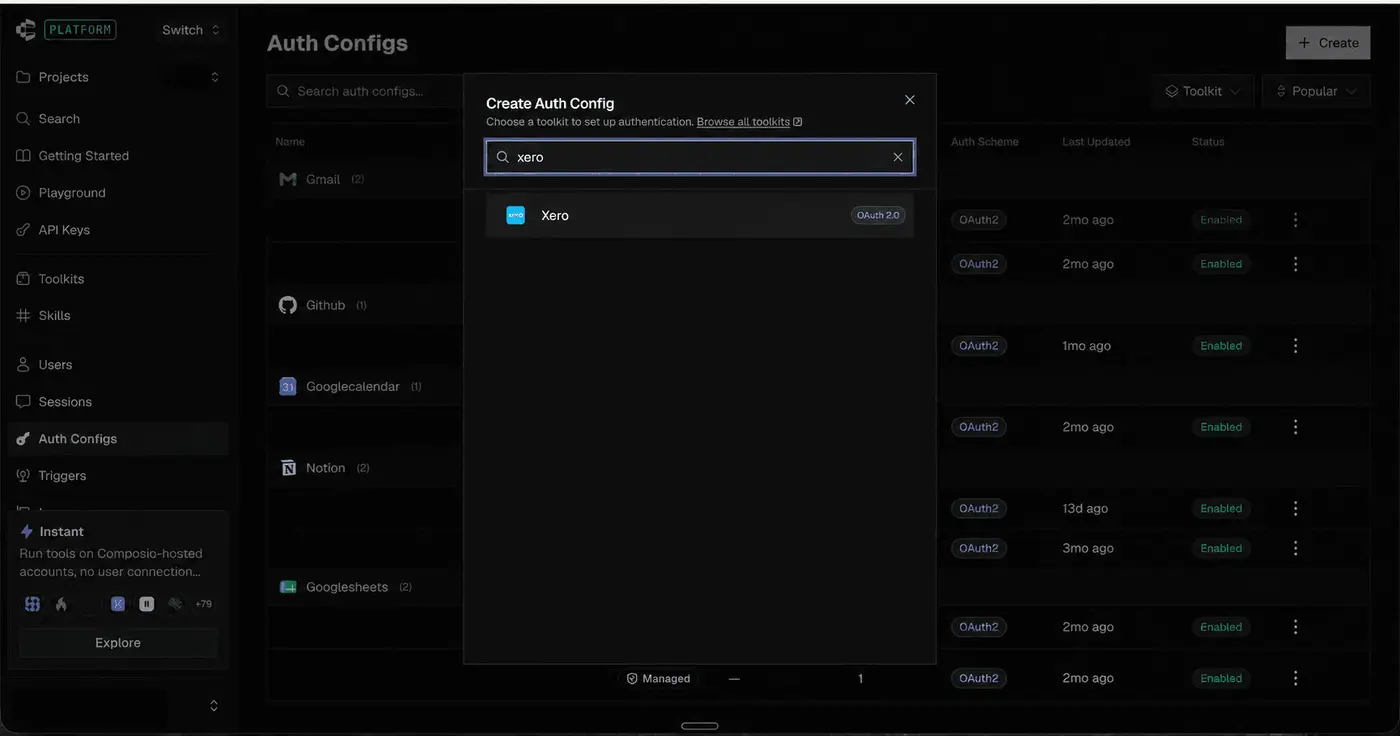
-
Choose Your Own Credentials and paste the Client id and Client secret.
-
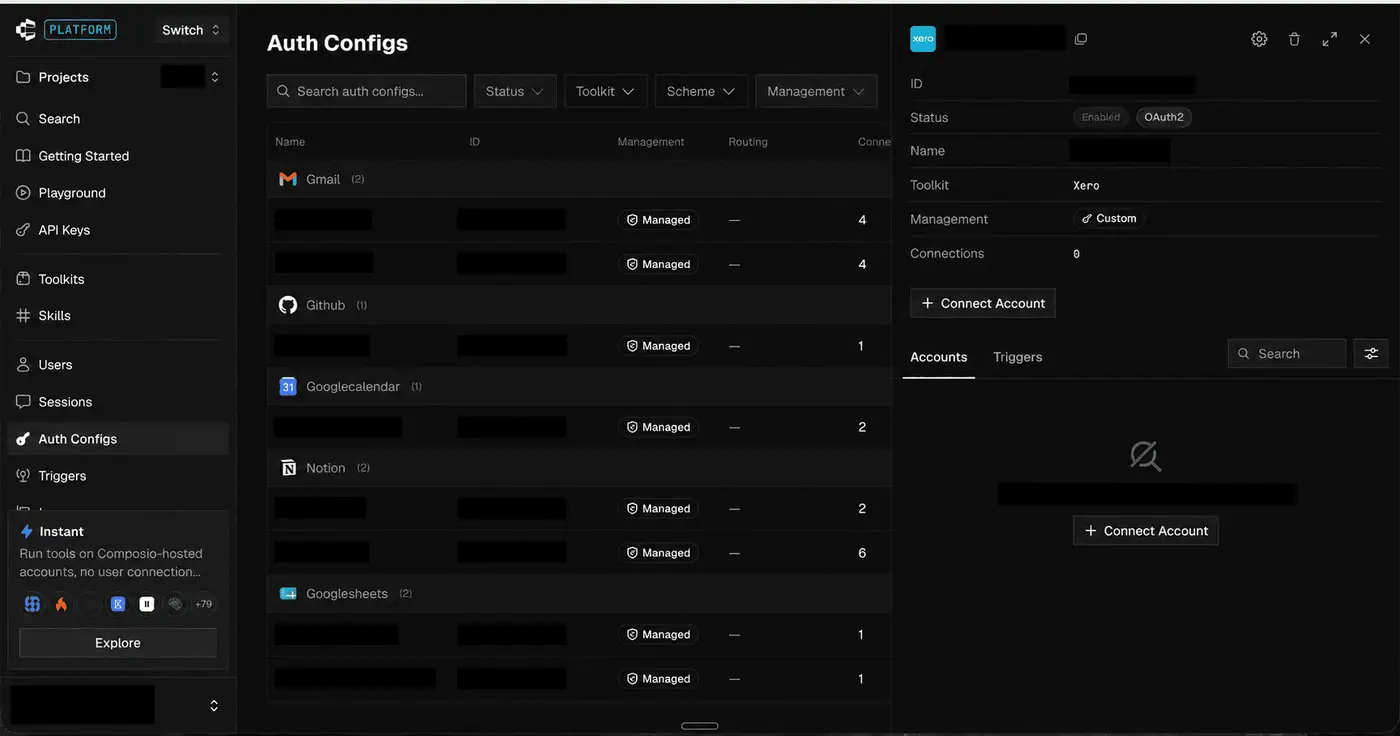
Keep the default scopes or adjust them (see below), then click Create Auth Config.
-
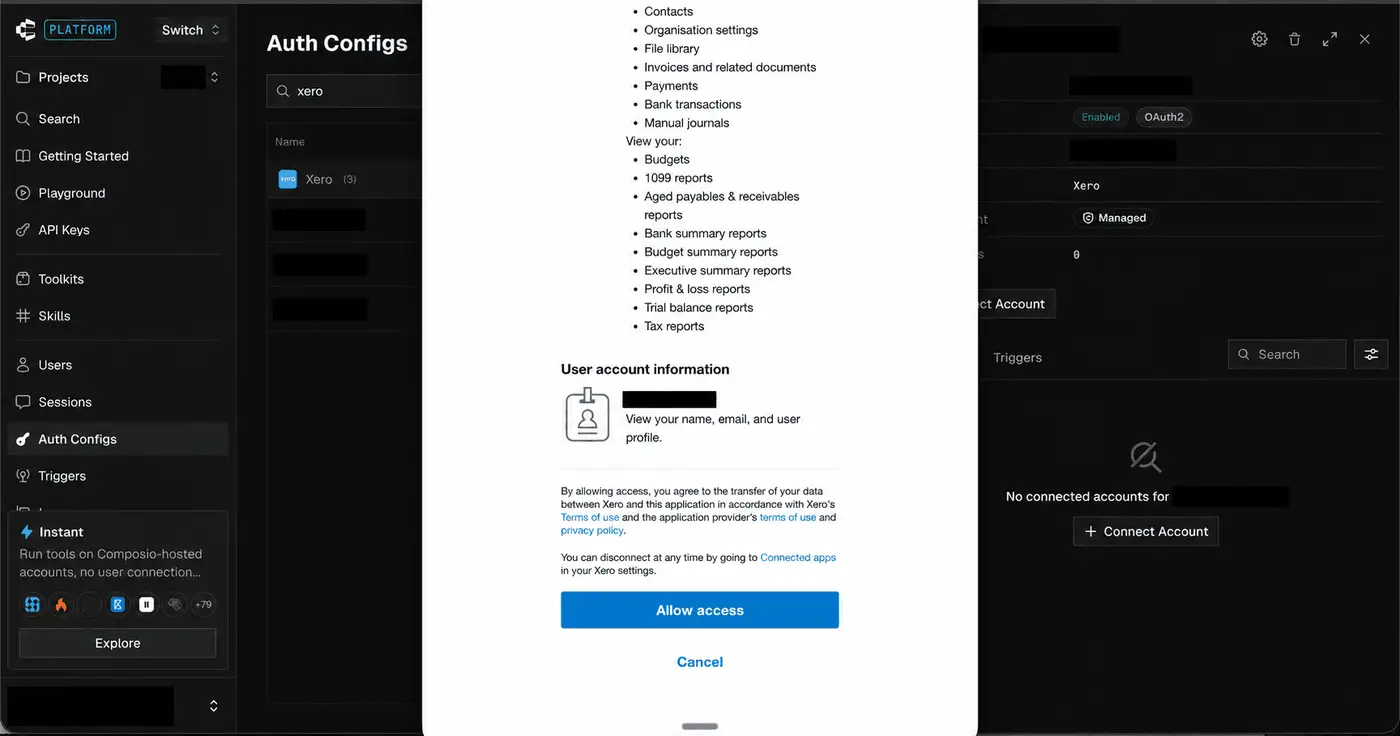
Click Connect Account, sign in to Xero, check the app name, organisation, and permissions, and click Allow access.
-
Open Accounts and confirm the connected account shows as Active. The auth config's Enabled label alone doesn't confirm a connection.
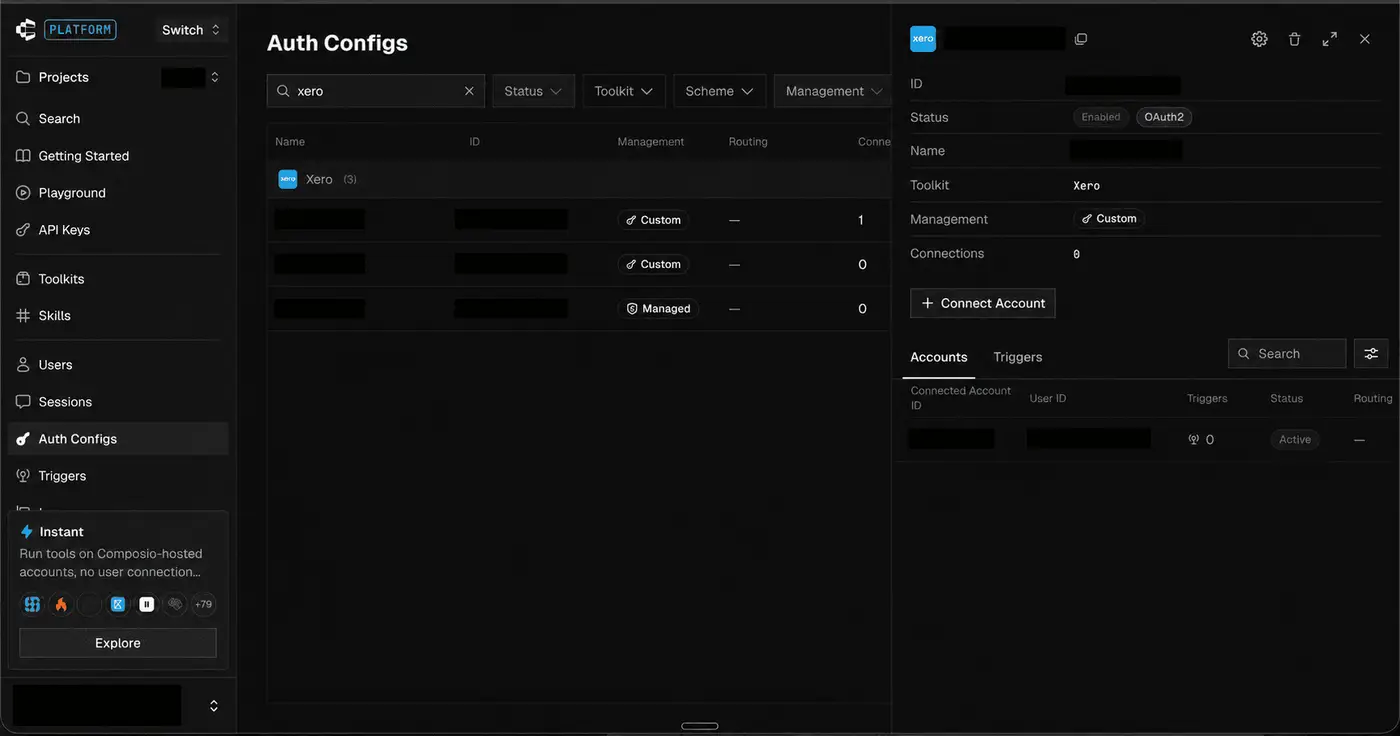
See Custom auth configs for the general flow.
Scopes
The default auth config requests openid, profile, email, offline_access, plus read and write access to accounting, files, and projects (for example accounting.invoices, accounting.contacts, accounting.payments, and the accounting.reports.*.read scopes). Keep offline_access so Composio can refresh tokens without another sign-in, and remove any accounting areas your tools don't use.