Authenticating Tools
If you're building an agent, we recommend using sessions instead. Sessions handle authentication automatically via in-chat authentication or manual authentication.
The first step in authenticating your users is to create an Auth Config. Every toolkit has its own authentication method such as OAuth, API key, Basic Auth, or custom schemes.
An Auth Config is a blueprint that defines how authentication works for a toolkit across all your users. It defines:
- Authentication method -
OAuth2,Bearer token,API key, orBasic Auth - Scopes - what actions your tools can perform
- Credentials - whether you'll use your own app credentials or Composio's managed auth
Creating an auth config
Using the Dashboard
Navigate to Auth Configs tab in your dashboard and click "Create Auth Config". Find and select the toolkit you want to integrate (e.g., Gmail, Slack, GitHub).
Each toolkit supports different authentication methods such as OAuth, API Key, Bearer Token. Select from the available options for your toolkit.
Depending on your authentication method, you may need to configure scopes:
- OAuth2: Configure scopes for what data and actions your app can access.
- API Key/Bearer Token: Permissions are typically fixed based on the key's access level.
For OAuth toolkits:
- Development/Testing: Use Composio's managed authentication (no setup required)
- Production: Generate your own OAuth credentials from the toolkit's developer portal
For custom authentication schemes:
You must provide your own credentials regardless of environment.
Want to remove Composio branding from OAuth screens? See White-labeling for details.
Click "Create Auth Configuration" button and you have completed your first step! Now you can move ahead to authenticating your users by Connecting an Account.
Auth configs are reusable
Auth configs contain your developer credentials and app-level settings (scopes, authentication method, etc.). Once created, you can reuse the same auth config for all your users.
When to create multiple auth configs?
You should create multiple auth configs for the same toolkit when you need:
- Different authentication methods - One OAuth config and one API key config
- Different scopes - Separate configs for read-only vs full access
- Different OAuth apps - Using separate client credentials for different environments
- Different permission levels - Limiting actions for specific use cases
Programmatic creation
For managing auth configs across multiple projects, you can create them programmatically via the API
Production white-labeling
Remove Composio branding from OAuth screens for a fully white-labeled authentication experience
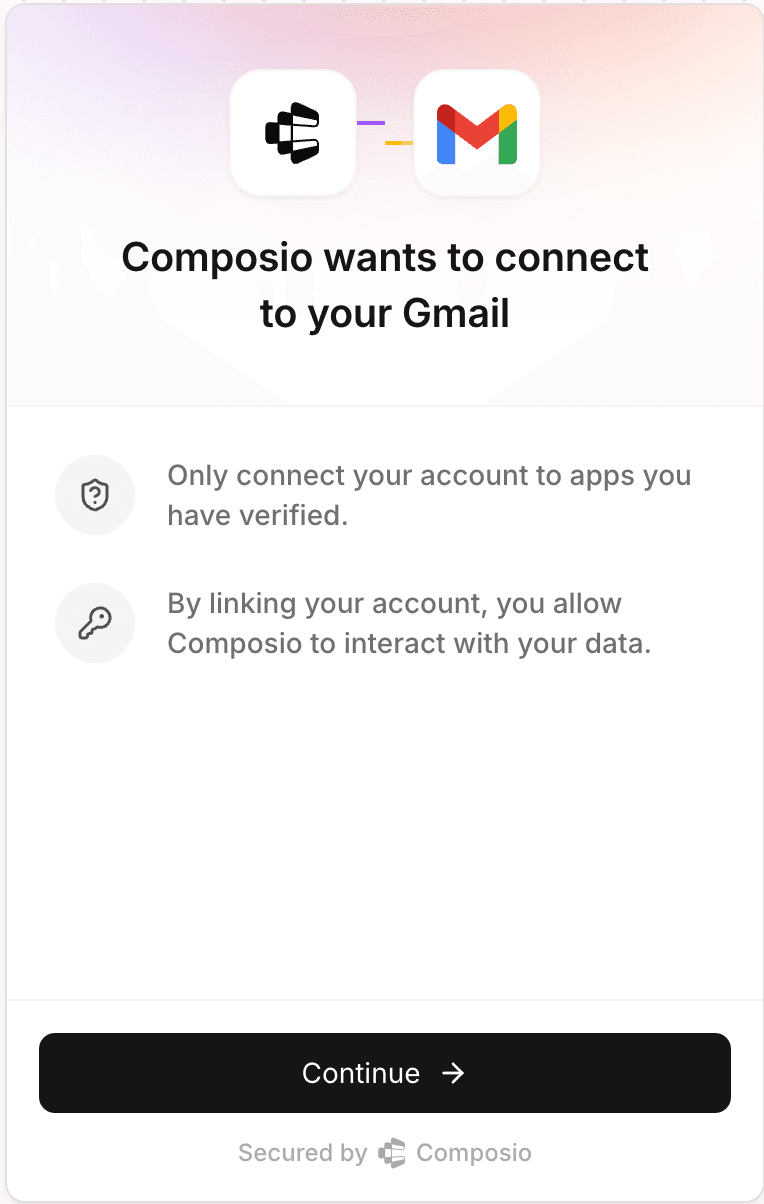
Connecting an account
With an auth config created, you're ready to authenticate your users!
You can either use Connect Link for a hosted authentication flow, or use Direct SDK Setup.
User authentication requires a userID - a unique identifier that groups connected accounts together. Learn more about User scoping to understand how to structure userIDs for your application.
Choose the section below that matches your toolkit's authentication method:
Hosted Authentication (Connect Link)
Redirect users to a Composio-hosted URL that handles the entire authentication process—OAuth flows, API key collection, or custom fields like subdomain. You can specify a callback URL to control where users return after authentication.
from composio import Composio

composio = Composio(api_key="your_api_key")

# Use the "AUTH CONFIG ID" from your dashboard
auth_config_id = "your_auth_config_id"

# Use a unique identifier for each user in your application
user_id = 'user-1349-129-12'

connection_request = composio.connected_accounts.link(
    user_id=user_id,
    auth_config_id=auth_config_id,
    callback_url='https://your-app.com/callback'
)

redirect_url = connection_request.redirect_url
print(f"Visit: {redirect_url} to authenticate your account")
import { Composio } from '@composio/core';
const composio = new Composio({apiKey: "your_api_key"});
// Use the "AUTH CONFIG ID" from your dashboard
const authConfigId = 'your_auth_config_id';
// Use a unique identifier for each user in your application
const userId = 'user-1349-129-12';
const connectionRequest = await composio.connectedAccounts.link(userId, authConfigId, {
callbackUrl: 'https://your-app.com/callback'
});
const redirectUrl = connectionRequest.redirectUrl;
console.log(`Visit: ${redirectUrl} to authenticate your account`);Customizing Connect Link
You can customize the Connect Link with your logo and app title, or fully white-label OAuth consent screens with your own developer apps.
Redirecting users after authentication
You can include custom query parameters in your callback URL to carry context through the auth flow, such as identifying which user or session triggered the connection. Composio preserves your parameters and appends its own after authentication completes.
| Parameter | Description |
|---|---|
status | success or failed |
connected_account_id | The ID of the newly created connected account |
For example, if your callback URL is https://your-app.com/callback?user_id=user_123, the redirect after successful auth will be:
https://your-app.com/callback?user_id=user_123&status=success&connected_account_id=ca_abc123Direct SDK Setup
Choose the section below that matches your toolkit's authentication method:
OAuth Connections
initiate() is being retired for Composio-managed OAuth. If your auth config is Composio-managed (the default — you didn't bring your own OAuth client credentials), initiate() will start returning 400 BadRequest on 2026-05-08 for new organizations and 2026-07-03 for all remaining organizations. Use Hosted Authentication (Connect Link) above with composio.connectedAccounts.link() (TS) / composio.connected_accounts.link() (Python) instead — same return shape, same redirectUrl / redirect_url field, and it works for every redirectable scheme.
Custom auth configs (your own OAuth app) and non-OAuth schemes (API key, bearer token, basic) continue to work on initiate() unchanged. See the migration guide and the changelog entry.
For OAuth flows, you'll redirect users to complete authorization. You can specify a callback URL to control where users return after authentication:
from composio import Composio

composio = Composio(api_key="YOUR_COMPOSIO_API_KEY")

# Use the "AUTH CONFIG ID" from your dashboard
auth_config_id = "your_auth_config_id"

# Use a unique identifier for each user in your application
user_id = "user-1349-129-12"

connection_request = composio.connected_accounts.initiate(
  user_id=user_id,
  auth_config_id=auth_config_id,
  config={"auth_scheme": "OAUTH2"},
  callback_url="https://www.yourapp.com/callback"
)
print(f"Redirect URL: {connection_request.redirect_url}")

connected_account = connection_request.wait_for_connection()

# Alternative: if you only have the connection request ID
# connected_account = composio.connected_accounts.wait_for_connection(
#  connection_request.id)
# Recommended when the connection_request object is no longer available

print(f"Connection established: {connected_account.id}")
import { Composio } from '@composio/core';
const composio = new Composio({apiKey: "YOUR_COMPOSIO_API_KEY"});
// Use the "AUTH CONFIG ID" from your dashboard
const authConfigId = 'your_auth_config_id';
// Use a unique identifier for each user in your application
const userId = 'user_4567';
const connRequest = await composio.connectedAccounts.initiate(
userId,
authConfigId,
{
callbackUrl: 'https://www.yourapp.com/callback',
}
);
console.log(`Redirect URL: ${connRequest.redirectUrl}`);
const connectedAccount = await connRequest.waitForConnection();
// Alternative: if you only have the connection request ID
// const connectedAccount = await composio.connectedAccounts
// .waitForConnection(connRequest.id);
// Recommended when the connRequest object is no longer available
console.log(`Connection established: ${connectedAccount.id}`);When using callback URLs with initiate(), the appended query parameters use camelCase (connectedAccountId, appName) instead of snake_case. See Redirecting users after authentication.
Services with Additional Parameters
Some services like Zendesk require additional parameters such as subdomain:
# For Zendesk - include subdomain
connection_request = composio.connected_accounts.initiate(
  user_id=user_id,
  auth_config_id=auth_config_id,
  config=auth_scheme.oauth2(subdomain="mycompany")  # For mycompany.zendesk.com
)
// For Zendesk - include subdomain
const connRequest = await composio.connectedAccounts.initiate(userId, authConfigId, {
config: AuthScheme.OAuth2({
subdomain: 'mycompany',
}),
});API Key Connections
For API key authentication, you can either collect API keys from each user or use your own API key for all users. Popular toolkits that use API keys include Stripe, Perplexity, etc.
Here is how to initiate the flow:
from composio import Composio

composio = Composio(api_key="your_api_key")

# Use the "AUTH CONFIG ID" from your dashboard
auth_config_id = "your_auth_config_id"

# Use a unique identifier for each user in your application
user_id = "user_12323"

# API key provided by the user (collected from your app's UI)
# or use your own key
user_api_key = "user_api_key_here"

connection_request = composio.connected_accounts.initiate(
  user_id=user_id,
  auth_config_id=auth_config_id,
  config={
    "auth_scheme": "API_KEY", "val": {"api_key": user_api_key}
  }
)

print(f"Connection established: {connection_request.id}")
import { Composio, AuthScheme } from '@composio/core';
const composio = new Composio({ apiKey: 'your_api_key' });
// Use the "AUTH CONFIG ID" from your dashboard
const authConfigId = 'your_auth_config_id';
// Use a unique identifier for each user in your application
const userId = 'user12345678';
// API key provided by the user (collected from your app's UI)
const userApiKey = 'user_api_key_here';
const connectionRequest = await composio.connectedAccounts.initiate(userId, authConfigId, {
config: AuthScheme.APIKey({
api_key: userApiKey,
}),
});
console.log(`Connection established: ${connectionRequest.id}`);Fetching the required config parameters for an Auth Config
When working with any toolkit, you can inspect an auth config to understand its authentication requirements and expected parameters.
Here is how you would fetch the authentication method and input fields:
from composio import Composio

composio = Composio(api_key="your_api_key")

# Use the "AUTH CONFIG ID" from your dashboard
auth_config_id = "your_auth_config_id"

# Fetch the auth configuration details
auth_config = composio.auth_configs.get(auth_config_id)

# Check what authentication method this config uses
print(f"Authentication method: {auth_config.auth_scheme}")

# See what input fields are required
print(f"Required fields: {auth_config.expected_input_fields}")
import { Composio } from '@composio/core';
const composio = new Composio({ apiKey: 'your_api_key' });
// Use the "AUTH CONFIG ID" from your dashboard
const authConfigId = 'your_auth_config_id';
// Fetch the auth configuration details
const authConfig = await composio.authConfigs.get(authConfigId);
console.log(`Authentication method: ${authConfig.authScheme}`);
console.log(`Required fields:`, authConfig.expectedInputFields);Other Authentication Methods
Composio also supports a wide range of other auth schemas:
Bearer Token - Similar to API keys, provide the user's bearer token directly when creating the connection.
Basic Auth - Provide username and password credentials for services that use HTTP Basic Authentication.
Custom Schemes - Some toolkits use their own custom authentication methods. Follow the toolkit-specific requirements for such cases.
Fetching auth config
For any of these methods, fetch the config parameter to determine the exact fields required. Every toolkit has its own requirements, and understanding these is essential for successfully creating connections.
Learn how to Manage connected accounts after users authenticate.
Connection Statuses
After creating a connection, it will have one of the following statuses that indicates its current state:
| Status | What it means | What to do |
|---|---|---|
| ACTIVE | Connection is working. Tools can be executed. | Nothing — you're good. |
| INITIATED | OAuth flow started but the user hasn't completed authentication yet. Auto-expires after 10 minutes. | Redirect the user to the Connect Link to finish authentication. |
| EXPIRED | Credentials are no longer valid and Composio cannot refresh them automatically. See common causes below. | Subscribe to expiry events to detect this proactively, and re-authenticate the user to refresh the connection. |
| FAILED | The authentication attempt did not succeed. Common causes: user denied consent during OAuth, invalid authorization code, or misconfigured auth config. | Check the status_reason field for details and retry the connection. |
| INACTIVE | Manually disabled via the API. The connection is preserved but cannot be used to execute tools. | Re-enable it via the API or dashboard to restore access. |
Why connections expire
Composio automatically refreshes OAuth tokens before they expire. A connection is only marked as EXPIRED after refresh attempts have failed. Common reasons:
- User revoked access — The user went to the provider's settings (e.g., Google Account > Security > Third-party apps) and removed your app's access.
- OAuth app deleted or disabled — The OAuth application credentials were deleted or disabled in the provider's developer console.
- Refresh token expired — Some providers (e.g., Google with test/unverified apps) expire refresh tokens after a set period. Once expired, a new OAuth consent flow is required.
- Provider-side revocation — The provider revoked tokens due to policy changes, security events, or account-level restrictions.
- Repeated transient failures — If token refresh fails multiple times consecutively (e.g., due to prolonged provider outages), Composio marks the connection as expired after a threshold of failures.
In all cases, the user must re-authenticate to restore the connection. Check the status_reason field on the connected account for the specific reason. You can also subscribe to connection expiry events to detect this proactively.
Waiting for Connection Establishment
The waitForConnection method allows you to poll for a connection to become active after initiating authentication. This is useful when you need to ensure a connection is ready before proceeding.
# Wait for the connection to be established
connected_account = connection_request.wait_for_connection()
print(connected_account.id)

# Alternative: Wait with custom timeout
# connected_account = connection_request.wait_for_connection(120)  # 2 minute timeout

# Alternative: If you only have the connection request ID (e.g., stored in database)
# connection_id = connection_request.id  # You can store this ID in your database
# connected_account = composio.connected_accounts.wait_for_connection(connection_id, 60)
// Wait for the connection to be established
const connectedAccount = await connectionRequest.waitForConnection();
console.log(connectedAccount.id);
// Alternative: Wait with custom timeout
// const connectedAccount = await connectionRequest.waitForConnection(120000); // 2 minutes
// Alternative: If you only have the connection request ID (e.g., stored in database)
// const connectionId = connectionRequest.id; // You can store this ID in your database
// const connectedAccount = await composio.connectedAccounts.waitForConnection(connectionId, 60000);The method continuously polls the Composio API until the connection:
- Becomes ACTIVE (returns the connected account)
- Enters a terminal state like FAILED or EXPIRED (throws an error)
- Exceeds the specified timeout (throws a timeout error)
Checking Connection Status
You can check the status of a connected account programmatically:
# Get a specific connected account
connected_account = composio.connected_accounts.get("your_connected_account_id")
print(f"Status: {connected_account.status}")

# Filter connections by user_id, auth_config_id, and status (only active accounts)
filtered_connections = composio.connected_accounts.list(
    user_ids=["user_123"],
    auth_config_ids=["your_auth_config_id"],
    statuses=["ACTIVE"]
)
for connection in filtered_connections.items:
    print(f"{connection.id}: {connection.status}")
// Get a specific connected account by its nanoid
const connectedAccount = await composio.connectedAccounts.get('your_connected_account_id');
console.log(`Status: ${connectedAccount.status}`);
// Filter connections by user_id, auth_config_id, and status (only active accounts)
const filteredConnections = await composio.connectedAccounts.list({
userIds: ['user_123'],
authConfigIds: ['your_auth_config_id'],
statuses: ['ACTIVE']
});
filteredConnections.items.forEach(connection => {
console.log(`${connection.id}: ${connection.status}`);
});Only connections with ACTIVE status can be used to execute tools. If a connection is in any other state, you'll need to take appropriate action (re-authenticate, wait for processing, etc.) before using it.
Next
Executing tools
Run tools with providers, agentic frameworks, or direct execution